Windows Developer
In order to start developing apps for Windows 10 you need to create a developer account. For this, please visit the link below and sign in with an exisiting Microsoft Account or create a new one.
[creativ_button url=”https://developer.microsoft.com/de-de/dashboard/registration/AccountInfo” icon=”user” label=”Microsoft Developer Dashboard” colour=”blue” colour_custom=”” size=”medium” edge=”rounded” target=”_blank”]
Pricing
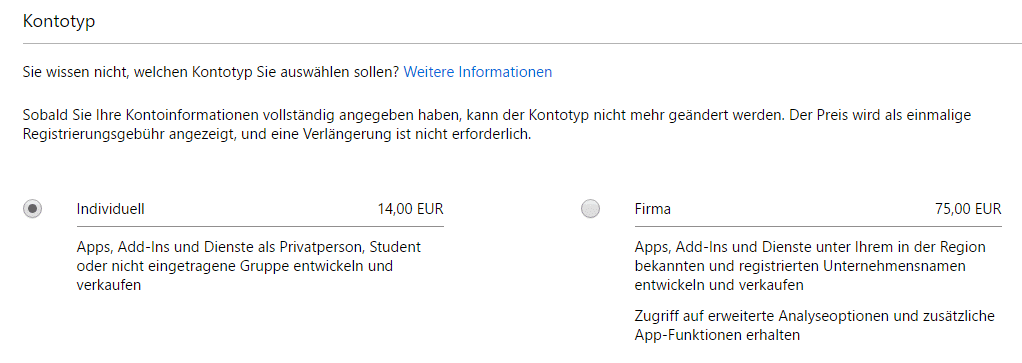
Depending on your state (individuell person or a company) you need to choose the corresponding account type.
Then fill out all needed information.
Payment
After that you need to pay the fee (+ tax) in order to unlock your Microsoft Developer Account. You either can pay with your credit card or PayPal.
Dashboard
Taxes
First of all you need to update your tax profile. For this you can visit following link.
[creativ_button url=”https://developer.microsoft.com/de-de/tcs/TaxCollection/TaxProfileSetup” icon=”user” label=”Microsoft Tax Settings” colour=”blue” colour_custom=”” size=”medium” edge=”rounded” target=”_blank”]
Signing
Same as for iOS and Android games you need to create a keystore file for Windows 10 Apps as well.
Requirements
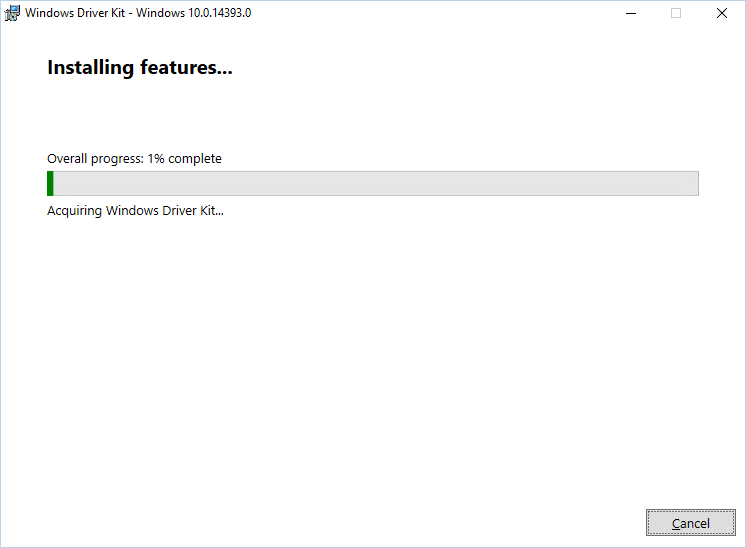
First of all you need to download the Microsoft WDK 10 (Windows Driver Kit).
The WDK is needed in order to create your Keystore file. For this we will need following exe files.
MakeCert
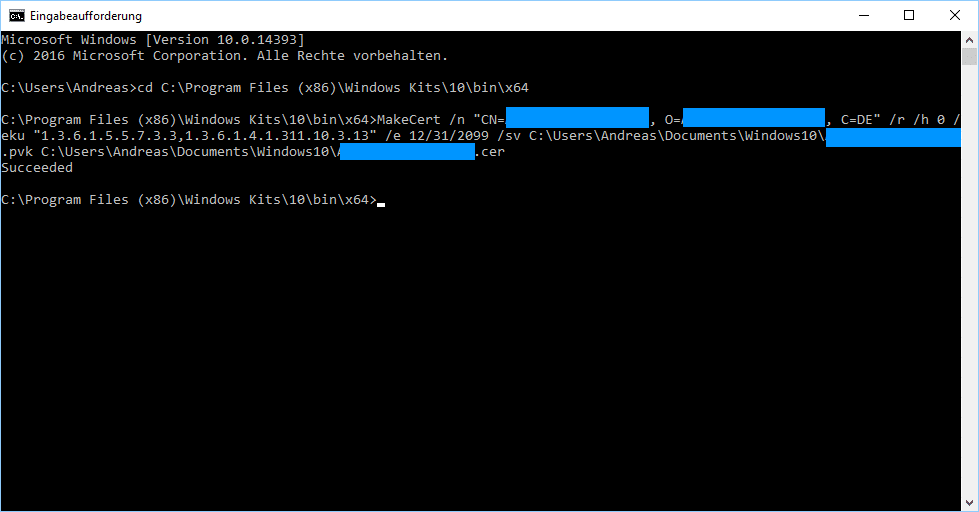
This application will be used to create your certificate. Now start your console and navigate to following path.
[code]cd C:\Program Files (x86)\Windows Kits\10\bin\x64[/code]
This is the default path if you haven’t changed it during installation.
Now run following code.
[code]MakeCert /n “CN=YOUR_COMPANY_NAME, O=YOUR_ORGANISATION_NAME, C=YOUR_COUNTRY_CODE” /r /h 0 /eku “1.3.6.1.5.5.7.3.3,1.3.6.1.4.1.311.10.3.13” /e 12/31/2099 /sv C:\Users\Andreas\Documents\YOUR_PVK_NAME.pvk C:\Users\Andreas\Documents\Windows10\YOUR_CERTIFICATE_NAME.cer[/code]
Replace the placeholders and run the code. An example could look like this.
[code]MakeCert /n “CN=Shatter-Box, O=Shatter-Box, C=DE” /r /h 0 /eku “1.3.6.1.5.5.7.3.3,1.3.6.1.4.1.311.10.3.13” /e 12/31/2099 /sv C:\Users\Andreas\Documents\Shatter-Box.pvk C:\Users\Andreas\Documents\Shatter-Box.cer[/code]
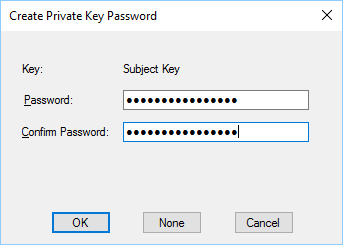
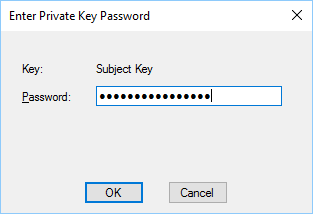
If the command was accurate, you will be prompt to enter some passwords. Note those passwords somewhere, they are very important!
After that, your certificates are ready.
You will find them at the specified path. Make sure that the path already exisits.
For further details please see the Microsoft Documentation for MakeCert.exe
[creativ_button url=”https://msdn.microsoft.com/de-de/library/windows/desktop/jj835832(v=vs.85).aspx” icon=”book” label=”Microsoft – MakeCert.exe” colour=”blue” colour_custom=”” size=”medium” edge=”rounded” target=”_blank”]
pvk2pfx
The next step is to convert the pvk file to an pfx file. Now start your console and navigate to following path or continue if you are still have the console open.
[code]cd C:\Program Files (x86)\Windows Kits\10\bin\x64[/code]
This is the default path if you haven’t changed it during installation.
[code]pvk2pfx /pvk C:\Users\Andreas\Documents\YOUR_PVK_FILE.pvk /pi PASSWORD/spc C:\Users\Andreas\Documents\YOUR_CERTIFICATE_FILE.cer /pfx C:\Users\Andreas\Documents\YOUR_PFX_FILENAME.pfx /po PFX_PASSWORD /f[/code]
This will output a “.pfx” file with the specified filename.
For further details please see the Microsoft Documentation for pvk2pfx.exe
[creativ_button url=”https://msdn.microsoft.com/windows/hardware/drivers/devtest/pvk2pfx” icon=”book” label=”Microsoft – Pvk2Pfx.exe” colour=”blue” colour_custom=”” size=”medium” edge=”rounded” target=”_blank”]
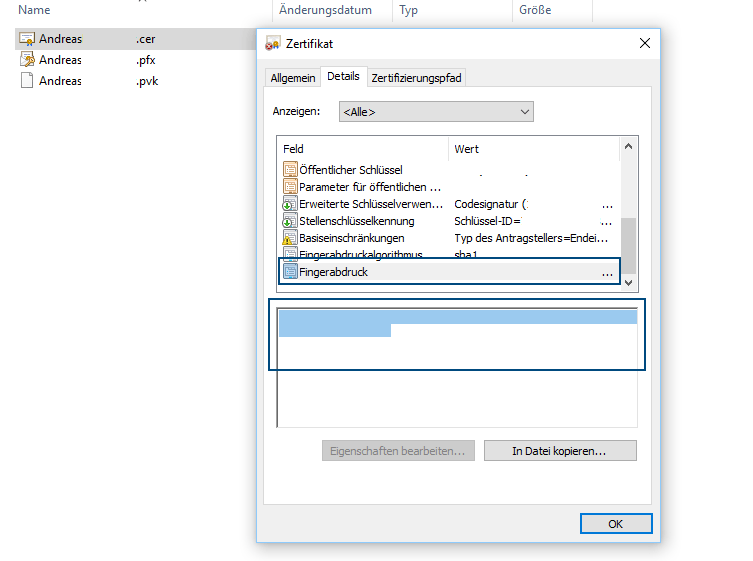
Package Thumbprint
Double-click your certificate file and go to the details tab.

