XCode
Since the last update of XCode the process for uploading or exporting an iOS app or game to iTunes has changed.
Prepare
For this option, please deselect the iOS signning key in your CocoonIO Project.
Then “Compile” your game in CocoonIO.
XCodearchive
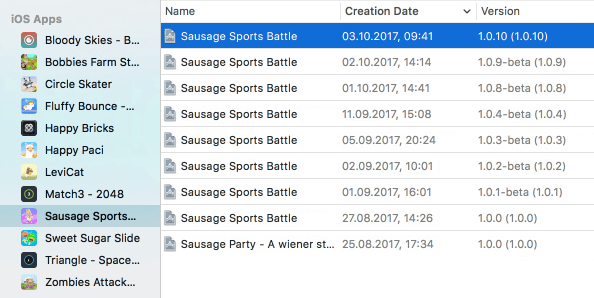
When the compilation has finished, download the iOS build from CocoonIO and unzip it on your Mac Computer. You’ll get a “.xcarchive” file then.
Double click the archive file in order to open it mit XCode.
Select the version you want to upload to the iTunes store. Make sure that you had registered the bundle ID before you start uploading the game / app to the store.
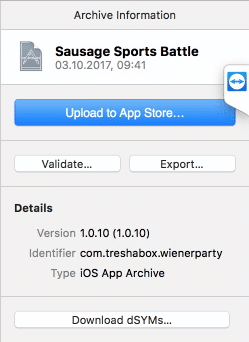
Click “Upload to App Store…” in order to upload this binary to your iTunes Connect Dashboard.
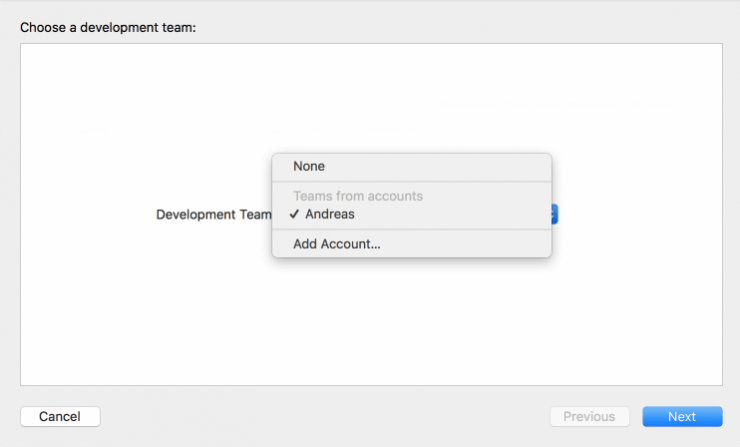
Now select your developer team. If you haven’t added any, do it with “Add Account…”.
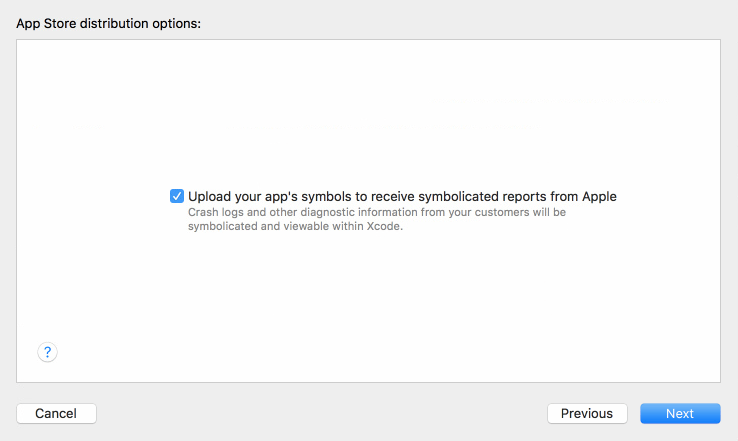
This option is up to you, tick it or not.
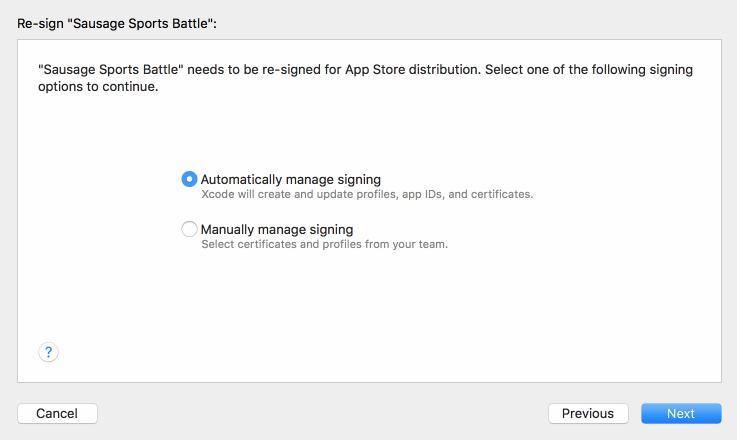
Wether choose here if apple should sign your application automatically of if you want to do it manually.
Automatically manage signing
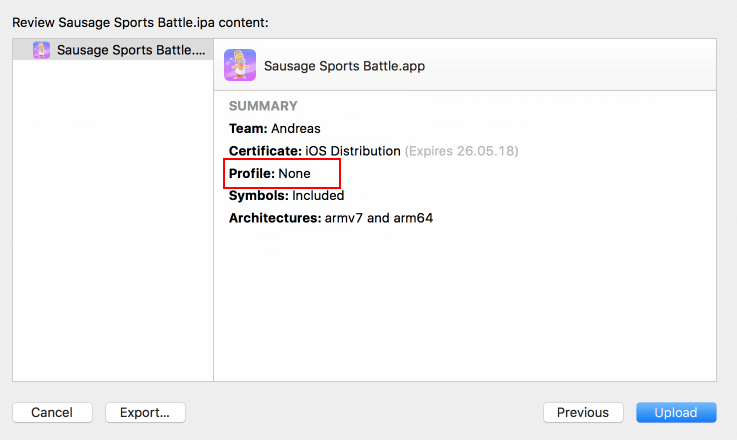
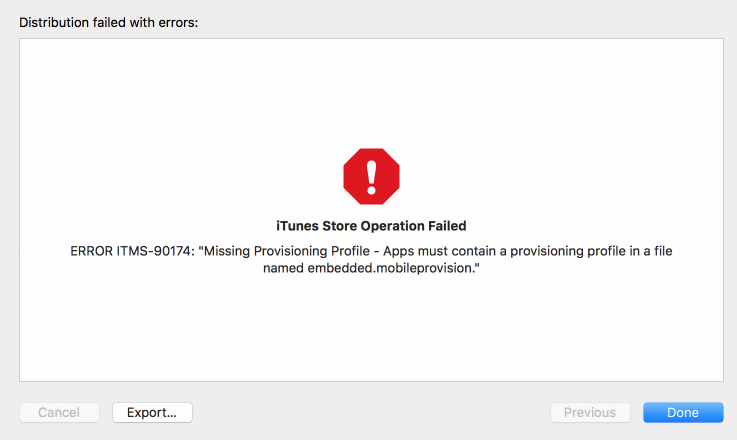
If you are choosing the automacially managed signing, make sure that you have a valid distribution certificate and a valid provisioning profile with the apps bundle ID! Otherwise you will get an error at the end of the upload. No wildcards can be used here as profile!
If XCode cannot find the provisioning choose rather the manually signed method or check your profiles at your Developer Portal.
If you ignore it you will get following error.
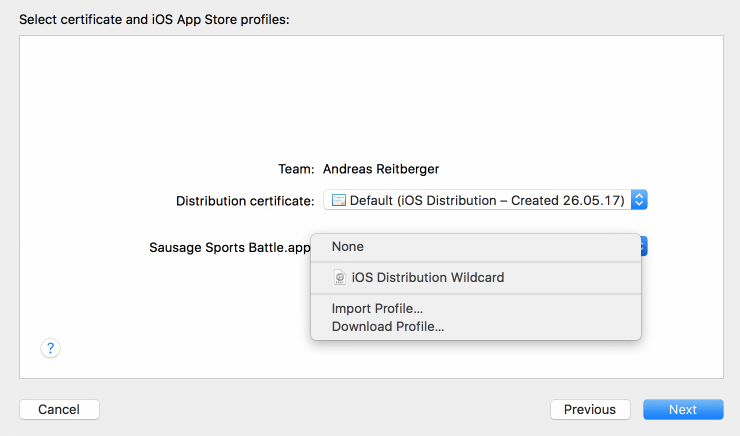
Manually manage signing
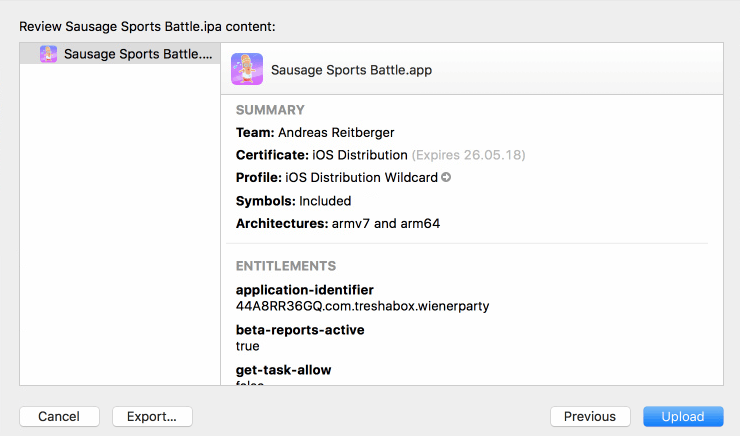
If you get an error at the automatically managed signed method, switch to the manually one. Here you can add also a wildcard as profile.
Just click import Profile and import either your profile with the bundle ID or a wildcard. You can manage and download those from your Developer Portal.
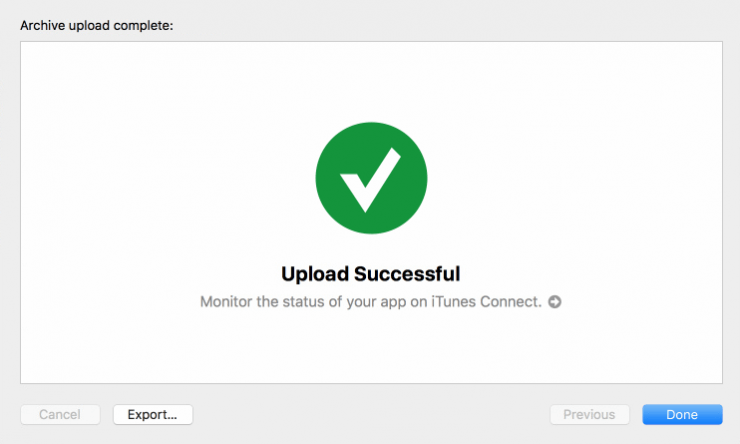
Once you’ve clicked Upload, XCode will send your binary to apple. If all went well, you will see this success message.


