You are a coder and want to sell or share your software as an installer? If yes, it’s highly recommended to sign your software after the build process had finished.
What do I need?
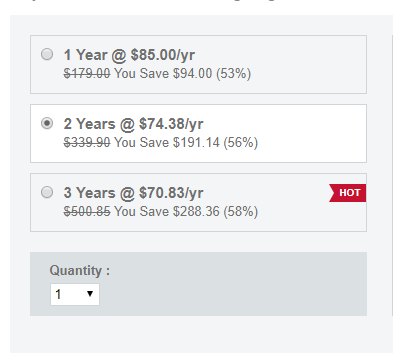
If you want to sign your application / software, you basically just need an issued certificate. However such certificates aren’t free of charge (if you found one, share it with us).
I decided to go with Comodo SLL (no affiliates, just the cheapest I’ve found).
Code Signing Certificate

Once you’ve decided to get a certificate, you need to verify your identity. You will get instructions right after the purchase. This is a quick view what you going to need and to do.
- Go to a notary and get a notarized copy of your I.D. and / or birth certificate
- Fill out a face to face document with a notary
- Send a phone bill, a financial document (you can remove all bank information as your IBAN and so on) the notarized documents and the notarized face to face document to the issue of the certificate
It took me about two days and the fees were about 20-25€ from a German notary.
Code Signing in Visual Studio
Assuming you already got your certificate, it’s not that difficult to install it. You will get instructions from the issue how to create your certificate. Once created, it’s installed on your computer. After that, export it and save it somewhere save! Once lost, it’s gone forever…
Single Project
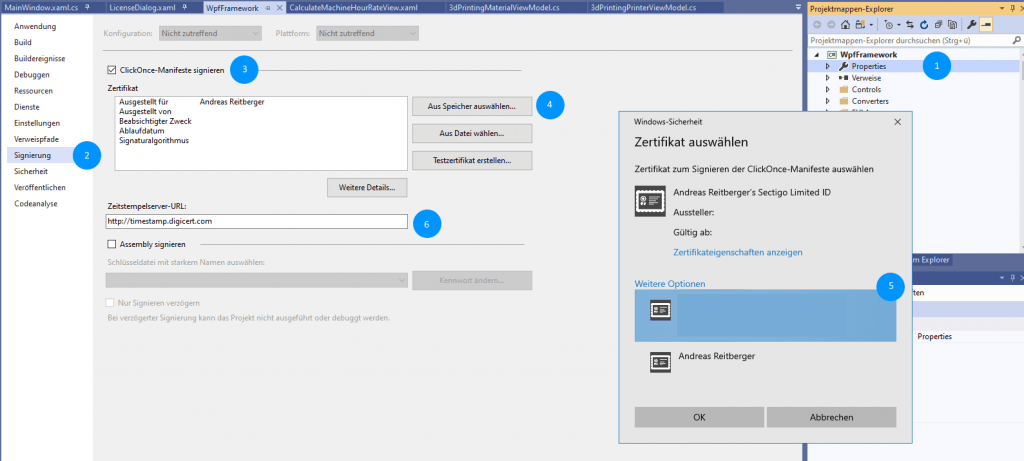
If you just have a default single project, just go to the Solution tab, double click the “Properties” (1) node and go to “Signing” (2).

Then check the checkbox saying “Sign ClickOnce manifests” (3). Then select your installed certificate from “Store” (4) and in the popup dialog (5). Eventually add the time server to get the signing date (6).
http://timestamp.digicert.com
Visual Studio Installer Wizard Project
If you are using the Installer Wizard / Setup, just go to the “PostBuildEvent” and add following line.
"C:\Program Files (x86)\Windows Kits\10\bin\[YOUR_LATEST_VERSION]\x64\signtool.exe" sign /a /f "your_certificate.p12/.pxf" /p "your_password" /t "http://timestamp.digicert.com" $(BuiltOuputPath)
And you’re done!
