Preparation
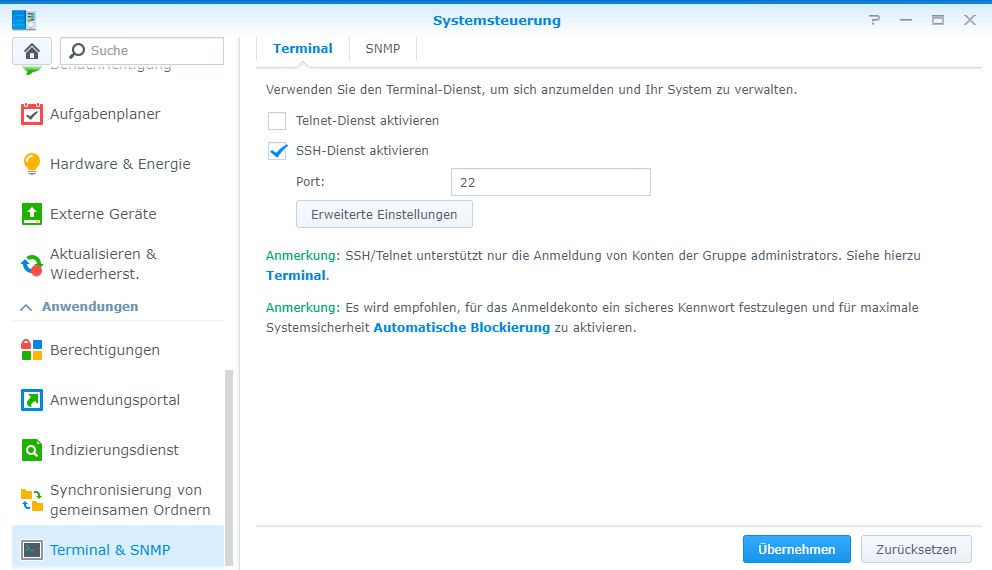
First of all you need to enable the “SSH” for your Synology NAS. To do so, login to your dashboard, open the Control Panel and navigate to “Terminal & SMNP”. There, check the tick saying “Enable SSH service”, that’s it.

Now use any SSH Client to connect to your Synology. We recommend putty for that. You can download it for free below.
Download Putty: Download page
Connect
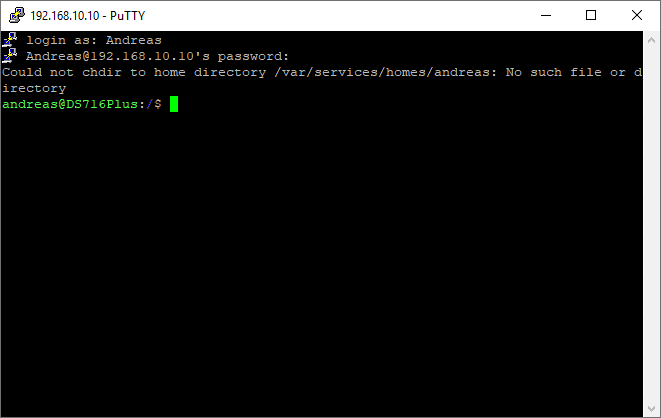
Run your SSH Client tool and connect to your IP address of your local Synology NAS.
Login with your admin credentials first. It’s the same as you use for your dashboard login.

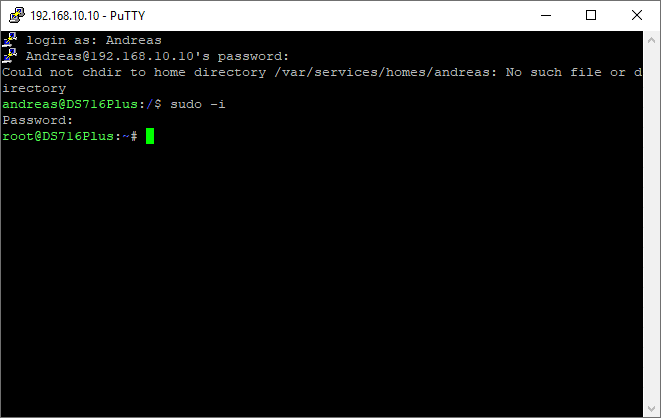
Afterwards, type in following command to get down the the root level. You will be asked again for your password. Use your admin password.
sudo -i

Now you are logged in as root. Please note that this step is necessary, otherwise you have no access to the repository later.
Backup your repository
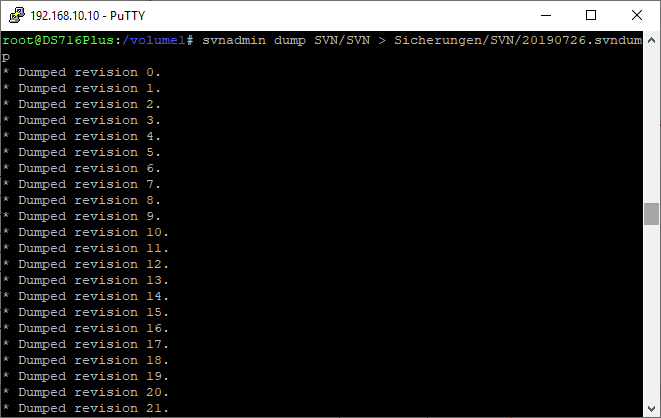
Now you can create a dump of your repository with following lines.
cd /volume1/
First of all we change the directory to the volume1 (this can differ from your setup, just use the target volume of your local NAS.
svnadmin dump SVN/YOUR_REPO_TO_BACKUP > Backups/MyBackup.svndump
Then we dump the target repo to our backup folder on your NAS. The filename can be anything.

Restore your Repository
In order to load your repository backu file (dump) into your existing repo, please run following command as root.
svnadmin load SVN/YOUR_REPOSITORY < Backups/MyBackup.svndump
If you want to restore it in a brand new repo, create one with this command, before.
svnadmin create MY_REPOSITORY
